How to send your DSEI images to us
During DSEI, please share your images and videos with us at images(at)stopthearmsfair*org*uk. This serves a number of purposes:
- Expose the secrecy the arms fair thrives on
- Help DSEI gain exactly the type of media coverage it does not want
- Inspire other supporters in their actions
- Inform the wider public of what is happening in the Docklands
- Show support to those affected by conflict and violent repression
- Help bring wider notice to the evil of the arms trade and the many issues that intersect with it
It helps to share your images and videos with us as promptly as you can. We will be working throughout the day to edit and share footage of the activities at DSEI. We will produce a video summary every day of that day’s actions.
The more footage we have to work with, the better a job we can do, and the more people will share our videos and pictures, causing more people to hear about DSEI. The news media in particular moves very quickly and needs fresh, new imagery for stories to have a great impact. So if at all possible, please send us your photos and videos while they’re hot!
What will happen to files you share with us
- By sending us files at images(at)stopthearmsfair*org*uk, you agree we can share and edit your files.
- We will not sell your files. We will not use your files for purposes other than stopping arms fairs.
- We may use your files in larger video compilations, collages, slideshows, or blogs.
- We may share your files with the news media.
How to send your DSEI files to us
This process involves two basic steps:
- Upload your file(s) somewhere that they can be shared with us.
- Share your file(s) with us at images(at)stopthearmsfair*org*uk.
The rest of this page is a guide covering how to do those steps using three common file-sharing services: WeTransfer, Google Drive and Dropbox.
These services are not required to send files to us. We are just mentioning them because they are commonly used and free. You may use any method you like.
Note about the guides below
The guides below are not intended to be comprehensive, and they are oriented towards people using desktop and laptop computers. Mobile applications have similar but different interfaces and processes.
If you tried the steps below and you’re stuck, please contact us at images(at)stopthearmsfair*org*uk and we’ll try to advise.
If you are concerned about security
Don’t follow the guides below. Find an activist security guide instead. You can find a lot of them by searching. There are lots of good ones; follow their advice instead.
WeTransfer
2GB file size limit
WeTransfer is a hassle-free option for sending less than 2GB of files at a time. Files you send with WeTransfer are deleted from WeTransfer after one week. This means the recipient must download your files before the time period expires. Otherwise, they missed their chance!
The time limit is fine for DSEI, because we will retrieve your files within one day.
A downside of WeTransfer is that (at the time of writing) the service tends to go offline occasionally. So if you plan on using WeTransfer, you may want to have a backup service in mind. Google Drive and Dropbox are commonly used alternatives.
How to use WeTransfer
WeTransfer is here: https://wetransfer.com/. Click the button to select the free version of WeTransfer, if necessary.
The WeTransfer screen looks like the one below. Use the blue plus sign to add your files.
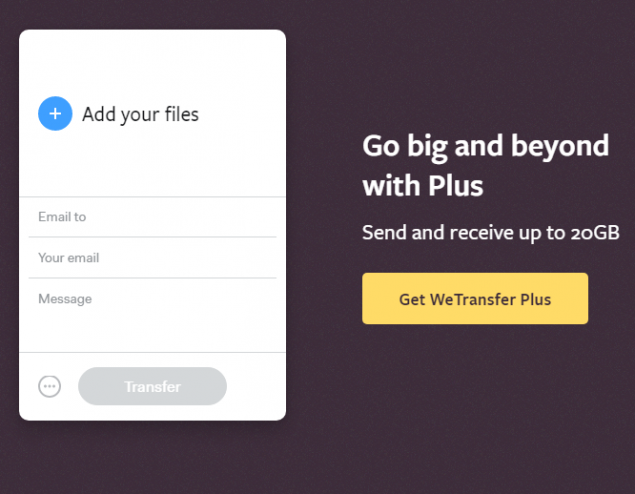
Put our email address in the Email to box: images(at)stopthearmsfair*org*uk
Put your email address in the Your email box.
(Optional) Write us a brief message to tell us what you’re sending.
Click Transfer. Wait for the upload to complete, and you’re done.
Google Drive
15GB file size limit
Google Drive is fairly straightforward to use if you have a Google account. It has a much larger file size capacity than WeTransfer, making it a good free option for sending videos.
In order to use Google Drive, a free Google account is required. If you already have a Google account, you should skip to Uploading files to Google Drive.
Creating a Google account
You can use the following link to create a Google Account. You might do this if you don’t have a Google account, or if you would like to create a separate Google account for this task. https://accounts.google.com/SignUp?hl=en
The Google account creation page requires some information:
- Before filling in anything, first, you may wish to click the ‘I prefer to use my current email address’ option. It should be in blue letters beneath the Username field. This will cause the page to reload.
- The form requires a first and last name. Feel free to lie*.
- The form requires an email address. Enter the email address you want to use for this task.
- The form requires a password. (Note: The way most people use internet browsers, your password should be very rarely needed.)
- The form requires a birthday. Feel free to lie*. If you lie and you’re over age 18, then be sure to use an age over 18.
- Gender is required, but there is a Rather Not Say option. Obviously also feel free to lie.
- Mobile phone number is not required.
- For Location, use United Kingdom to avoid problems.
*If you lie, we suggest either using information you can easily remember, or making note of your lies. For example, you could take a screenshot. This way if Google tries to verify the account later, you will be able to answer their questions.
After you fill in the form successfully, a Privacy and Terms screen will appear. Read it or don’t. Then press I Agree to continue.
Next, you will receive an email at the email address you gave to Google. Click the first link in Google’s message to verify your email address. You should get a success message in the browser once you do.
Congrats, you have a Google account! You are now logged in to your Google account in whatever browser you are currently using. (Now you can either click on Continue, or just close the tab.)
Tip: You can be logged in to multiple Google accounts at the same time. This is useful if you have a separate Google account for work or other purposes. Just use one Google account in one browser (such as Chrome or Safari) and your other Google account in another browser (such as Firefox).
Uploading files to Google Drive
Once you have a Google account, you can find your Google Drive here: https://drive.google.com/drive/u/0/my-drive. There are several ways to upload files to Google Drive. One is:
- Click the blue New button near the upper left of the screen.
- Click File Upload from the dropdown menu that appears.
- Select your file in the window that appears.
- Click Open.
- Wait for the ‘Uploading’ progress bar to finish.
- Now you should see your file in the list on the Google Drive screen.
Sharing files from Google Drive
- On the Google Drive screen, highlight your uploaded file.
- On a desktop computer, right-click the uploaded file.
- Click ‘Share with others’.
- Enter our email address: images(at)stopthearmsfair*org*uk
Dropbox
2GB file size limit
Dropbox is a commonly used service to transfer files. It takes a bit longer to set up than Google Drive. It offers another free 2GB of space to transfer files, making it a good option for sharing images. It is especially good if the WeTransfer service is down, or your Google Drive is out of space.
Signing up for Dropbox
If you do not have a Dropbox account, or you would like to create a new one for this task, use the following steps:
Go to Dropbox here: https://www.dropbox.com/.
There are two options for account creation. Pick one:
- You can use a Google account. In this case, use the Creating a Google account instructions above if necessary. Then come back to Dropbox and click Sign up free with Google.
- Or, you can provide a full name, email address, and password. The email address you provide should be valid, because Dropbox will verify it. Tick the box to agree to Dropbox Terms. Then click Sign up for free.
Click the big, blue Download Dropbox button. It looks like this:

The screen will prompt you to click the installer to finish up. The installer is a downloaded file. It should appear near the bottom of the browser window, if you are using Chrome or Firefox.
If you don’t see the Dropbox download: it will be in your downloaded files. In Chrome on Windows, you can press Ctrl+J to see something like the screen below. If you’re using another browser, refer to its documentation to find downloaded files.

Run the Dropbox installer file you just downloaded. In Chrome you can do this by clicking on the file once.
Then agree to the prompts as necessary.
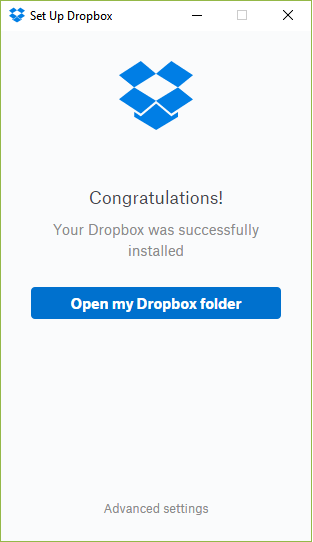
After some waiting, this popup window should appear. Click the Open my Dropbox folder button.
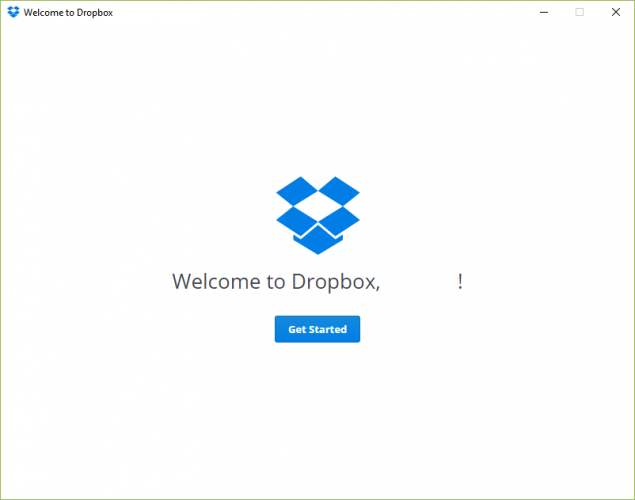
Now the unnecessary ‘welcome’ screen below will appear. Click Get Started, and continue through the prompts.
When you’ve clicked through all the screens, a folder called Dropbox should open on your screen. In Windows 10, it should look something like this:
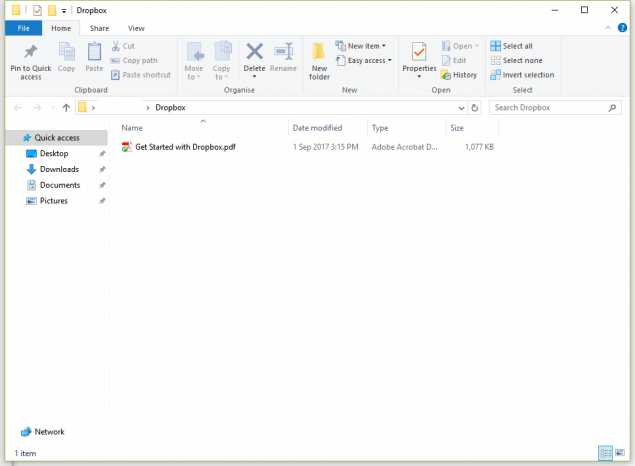
Put files you want to share with us in there. Tip: You can organise your files using subfolders. This will be useful for sharing later.
After you put your first file in the folder, a screen like the one below should appear in your browser. Click Continue and then Okay, got it.
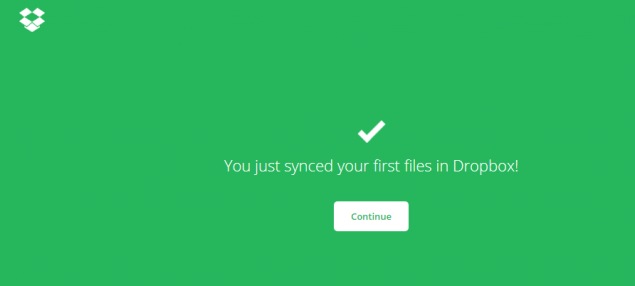
Now you can either take the Dropbox tour, or exit the tour by being disobedient. (Disobedience can be achieved by clicking somewhere else within the same screen.)
Hooray, the initial Dropbox setup is over! Now you can start sharing some files!
Sharing Dropbox files
Your Dropbox files are here: https://www.dropbox.com/home
You may need to verify your email address before you can share files. This will happen if you have not logged in to Dropbox for a long time, or if you just created a new account. If this happens, a popup window will appear. Check that your email address displayed in it is correct. Once you are sure of that, click Send email. Then follow the instructions in the email you receive. Tip: The Dropbox verification email may come to your spam folder. Mine did. If you don’t see the email message, look in there.
Your browser should now redirect to your Dropbox directory online.
To upload files (if you did not finish this in the account creation step) : On the right side of the screen, click Upload files. It looks like this:
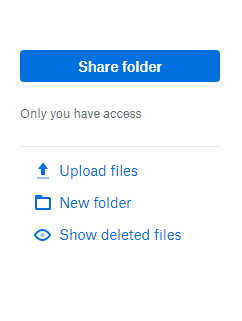
To share a file or a folder, hover on the file and then click the Share button. The Share button is near the right side of the screen. It looks like this:

A popup window will appear. Put our email address in the To: Email or name box: images(at)stopthearmsfair*org*uk
Click the blue Share button.
(Feel free to close any annoying popup windows about the Dropbox app.)


